Apr 28, 2009

Busy Week = Lots of Photos

Well folks*, It has been a busy week, so that is my excuse for not posting more. As proof, I offer this post with some of my results for the last 8 days...

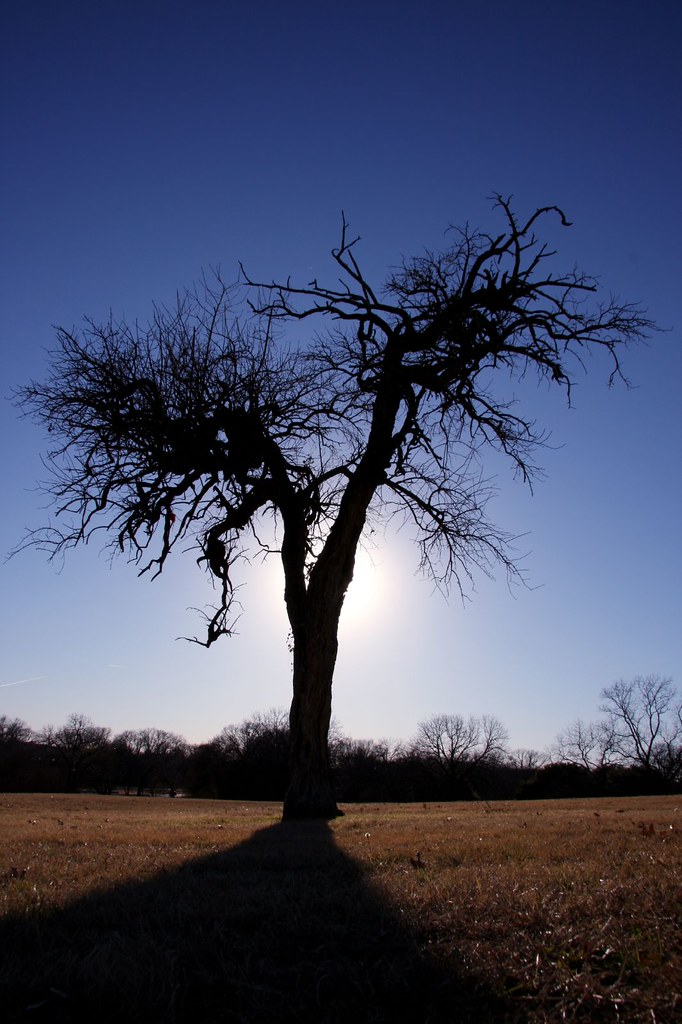
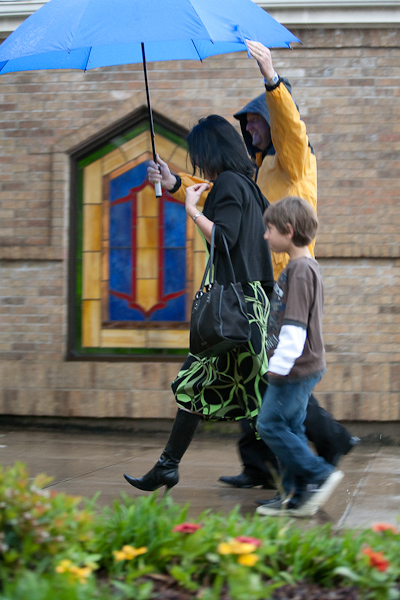
After returning from vacation and a short post from that experience, I got to work on Monday night processing photos from my church's Easter Sunday services. Easter was rainy this year...
april28blog-121

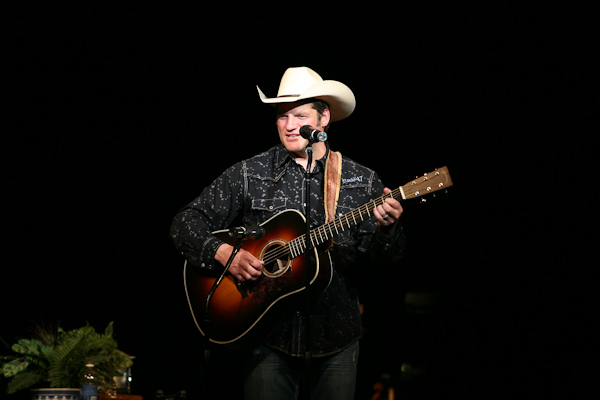
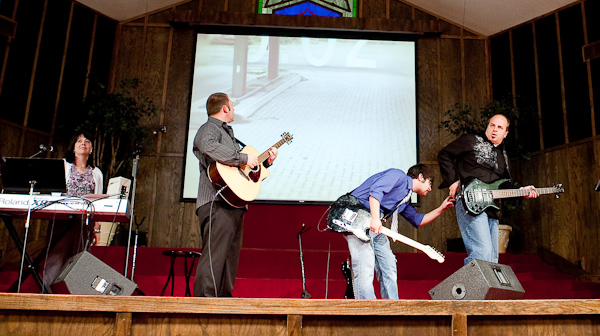
But inside, it was no-holds barred worship service... video from J here.

april28blog-120

I tried a remote camera at the front row of seating to get a different view without having to walk in front with a camera...
april28blog-123

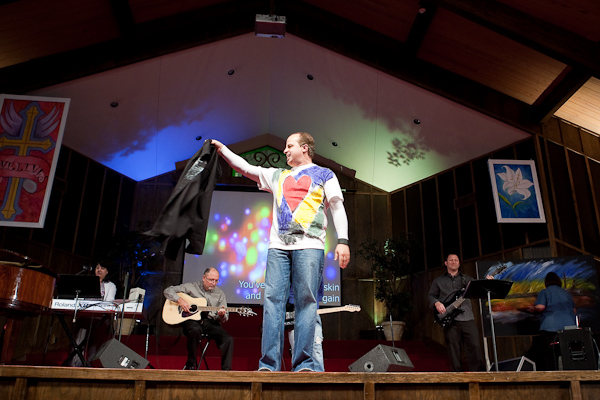
And I also cought some funny stuff before the service... what's going on here, guys?
april28blog-122

Tuesday I was out to shoot some Terrell Tigers Baseball... a difficult late-season loss to Mesquite Poteet. Between bad baseball timing and poor positioning, and not a lot of action to begin with, I did not come up with much. I also did not take a picture of the DPS Officer writing me a speeding ticket. The officer did not have a lot of humor going on, so the camera stayed in the bag.

Pre-Game light was good...
april28blog-100

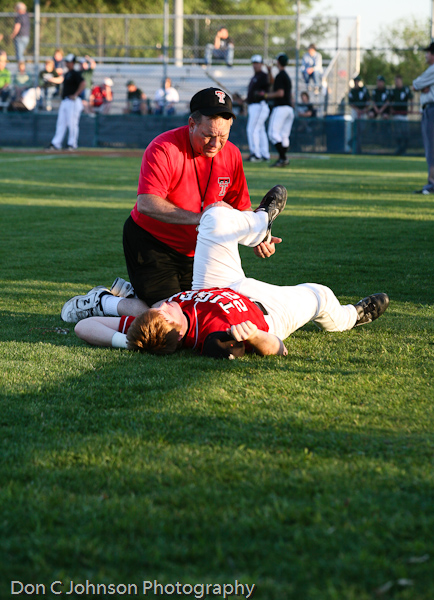
And a little game-action
april28blog-101

april28blog-102

april28blog-103

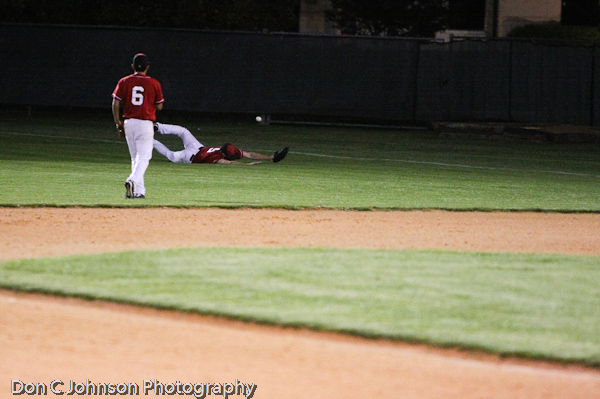
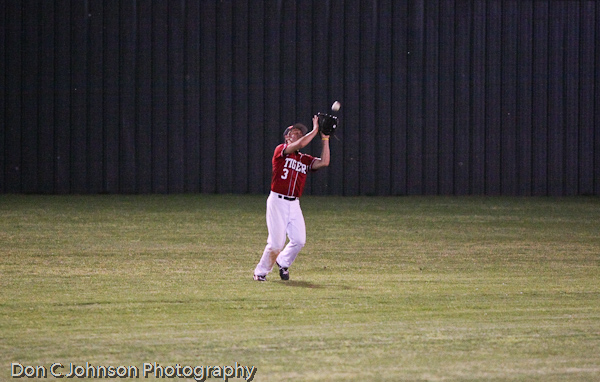
This was about as close as I got to an actual action shot...
april28blog-104


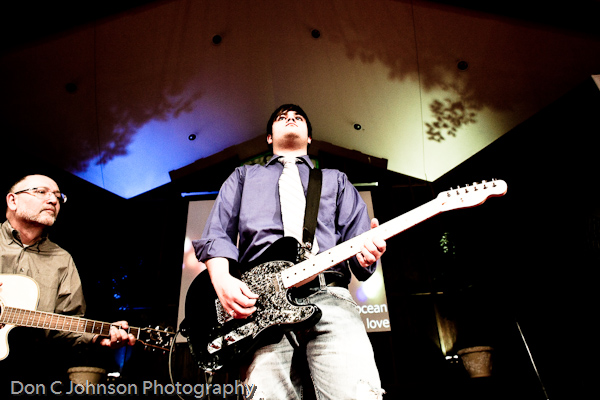
Wednesday was a rare opportunity to shoot for my "day-job" employer. We helped with an event displaying some new technology and I took some snapshots of the festivities.
april28blog-130

april28blog-131


Friday I took the opportunity to redeem myself at the baseball field. Terrell was facing the rival Forney Jackrabbits and it proved to be a very interesting game. I met up with Mr. Obstructed View who was shooting the game for the Terrell Tribune. I also got to meet Jim, of Terrell Daily Photo fame.

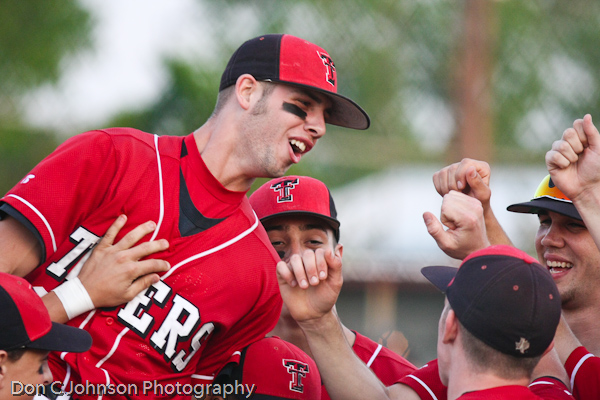
Pre-Game emotions were high, and both teams seemed in good spirits.
april28blog-140

Tuesday's experience paid off, and there was a bit more action during the game. Of course, my getting kicked out of a spot behind home plate by the umps was not exactly fun. No, I did not get a picture of that.

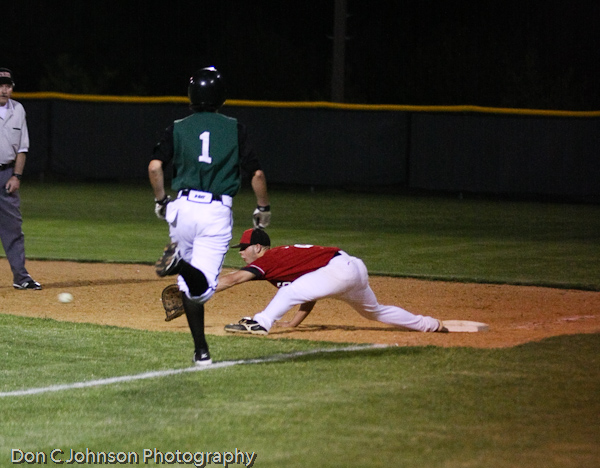
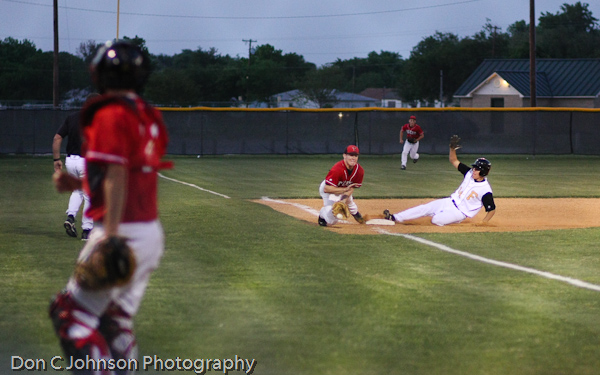
Pick off attempt at first base
april28blog-141

Close play at third
april28blog-142

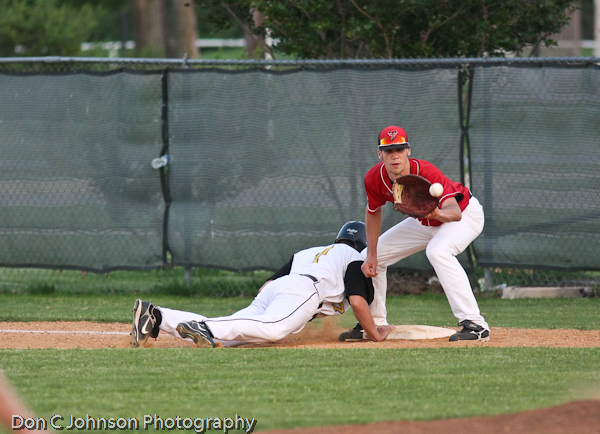
Diving safely into second
april28blog-143

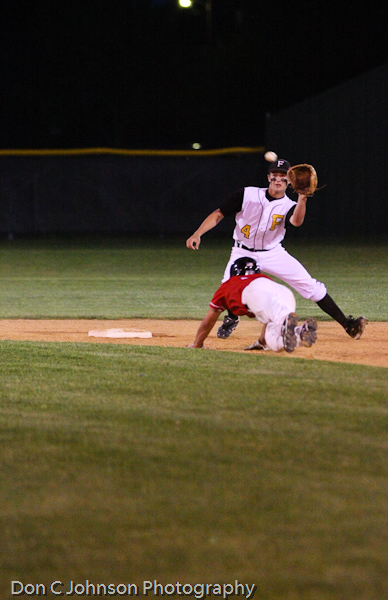
Tie goes to the runner
april28blog-144

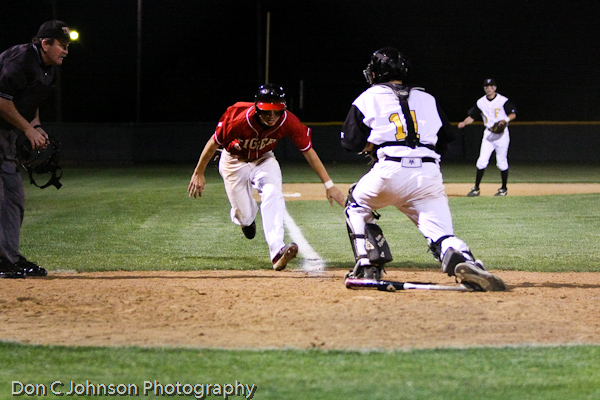
The game ended with some controversy as a last-out game-tying run was overturned by a baserunner interferance call. Naturally, i was shooting at the plate instead of where the interference happened.....
april28blog-145


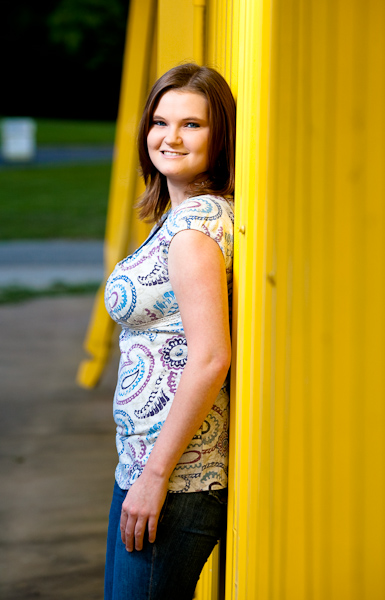
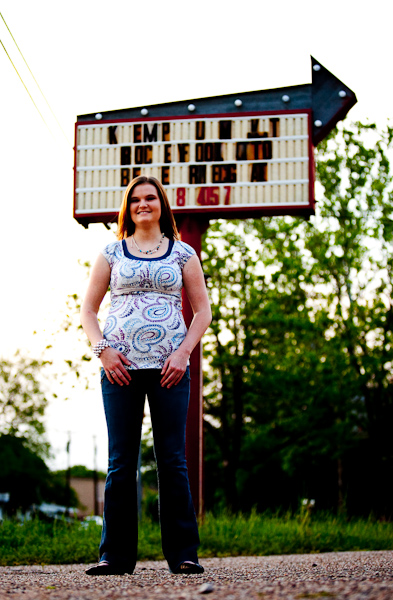
Saturday capped off a fun photo week with a Senior shoot with a wonderful young lady. I wish everyone was as adventurous a photo subject!

We started with some basic shots
april28blog-150

Finding fun backdrops
april28blog-151

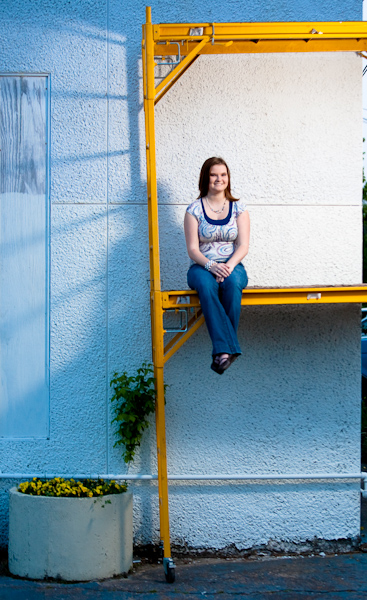
Then going a little crazy with scaffolding
april28blog-152

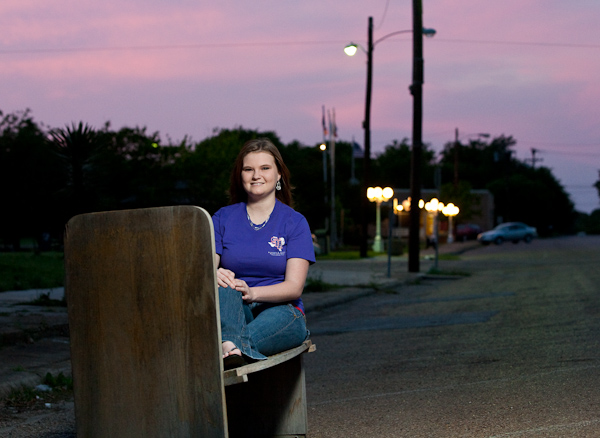
Pulling benches into the street
april28blog-153

Spinning on a merry-go-round
april28blog-155

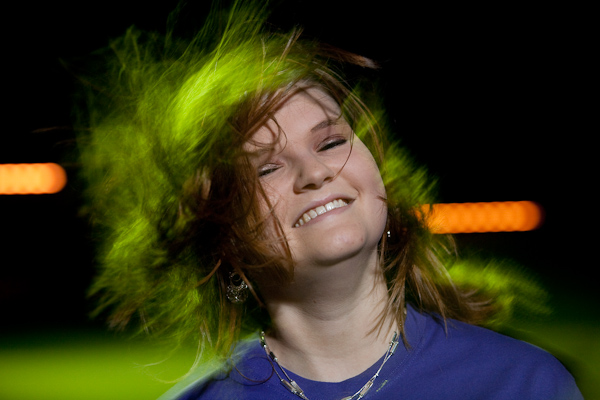
and finally, a nice, safe, colorful wall
april28blog-156

OK, so that's what I've been up to. I hope you had some photo fun this week too. More to come in the way of insight. If you have any particular questions, comments or topics that you would like me to address or experiment with, just let me know!

Happy Shooting,

don j.
* "folks" assumes more than one person reads this. Hi Mom.

Apr 19, 2009

Spot Metering and Manual Mode

OK, I'm back from a mini vacation of sorts, and it is way past time for a new post about exposure.

My wife and I visited the in-laws close to Branson, Missouri. If you don't know anything about Branson, it would be hard to describe adequately in a short post here. On one hand, it is a hub of Country/Christian/Family type entertainment with a lot of shows, attractions and a beautiful place in the Ozark Mountains. On the other, it can be very crowded and overbearingly caucasian, and like most tourism towns, expensive.

We saw a few shows at the Silver Dollar City theme park, the Showboat Branson Belle, and a comedian named Paul Harris.


Sooo... what does this have to do with photography?

As with most stage performances, the performers are in bright lights, and everything else is dark. This is a perfect example of where to use Spot Metering mode on your camera.

This is what you get with the camera on Automatic...
branson-101

The camera does not know that you want to be able to see his face.... it only wants to make a nice overall average scene.

Using the Spot Meter mode on your camera (most SLRs and some Point and Shoot's have this), center the camera on the performer's face, and it will give you a correct exposure.... something like this..
branson-100

The trick is that you have to keep the proper exposure setting for the face when you re-compose the shot so that the face isn't in the middle. Yes, this is where you grab your camera manual.

On many SLRs, there is a button for "exposure lock." Once you have the proper exposure for the face, you push a button and it keeps the right settings while you perfect the composition. On Canon xxD and xD cameras, it is a thumb button for your right hand....

If you are in a situation like this where the lighting is changing a lot, it is good to switch to Manual mode. Once you dial in a basic setting, you can aim the camera, watch the exposure meter and adjust your shutter speed on the fly to keep the exposure where it needs to be as the lighting changes.

This is really a powerful tool to learn in order to get the most from your camera. With practice, it becomes a simple procedure that you can do whenever you have challenging lighting conditions.

With that, you can get shots that everyone else is missing because they stuck with "auto" mode....

Practice shooting sports helps as whell when the Chinese Acrobats are doing this...
bransonacro-100

The heads in the shot ruin it, but I did not want to block everyone's view.... oh well.

I will leave you with another bit of Paul Harris...


Happy Shooting,

don j

Apr 11, 2009

Fun Photo Stuff from the Web

Happy and Blessed Easter to everyone out there.

One SportShooter folks takes Peeps to the streets

And What the Duck is holiday themed as well...


And one from me...
One photographic trick I do a lot is to get in the shadow of my subject and shoot back toward the light. That is probably a blog topic for the future, but this is what I'm talking about.
Flagpolehill8
Canon 40D, 17-85mm, f14, 1/250, iso100

Apr 5, 2009

Depth of Field Primer

As I've discussed before here, controlling background clutter and isolating your subject is absolutely crucial to making good pictures.

Getting that "fuzzy" background look can really make a picture pop, and it definitely pulls you out of snapshot territory.

Controlling how much of your photo is in focus comes down to two main things...

Distance
Camera to Subject... if you get closer to the subject, the background will get more out of focus. Seems simple enough, but it has to do with the physical distance, not zooming in. Get close!
Subject to background... the further your subject is from the background, the more out of focus the background will be. For example... if your subject is leaning on a wall, it will be hard to get the wall out of focus. Bring the subject for a little separation, and good things will happen. You also start to get layered composition this way, which is good.

Here, getting close to the bird was a pain, and I probably looked a bit goofy chasing it around with the camera... But it has a nice blurry background. Of course, the bird was getting a bit concerned about my intentions.
what are you lookin' at?


Aperture
This is easiest to control on an SLR camera... Smaller Aperture number = less amount of in-focus area. This is "Shallow" depth of field.

Here is a series of shots from a Canon 5D with a 50mm lens for demonstration...

The point of focus is the near side of the fourth (light orange) spool of thread. Look as each aperture change brings more depth into focus... eventually at f22, even the texture of the wall behind is clearly visible.
5Ddof

On a side note, at f11 and f22, you also see the dirt that has accumulated on my camera sensor... time for a cleaning!


Now what do you do with that information?

For Point and Shoots.... you need to get close, and, use the "portrait" setting. This will get the shortest depth of field available. For a variety of technical reasons, P&S cameras have a hard time getting short depth of field, so distance is what you have to work with most.

For SLR users... Try the Av (Aperture Priority) setting. With that, you are in control of how much depth of field you are using. Knowing that you can knock the background out of focus (or keep it clear if that is what you want), is a very powerful option.

In Aperture Priorty (Av) mode, you set your aperture, and the camera will adjust the shutter speed to compensate. It is almost exactly like shooting in all-auto (Green Square) mode, but you start to take control.

Most importantly, you have to practice with your camera so that when you want to control something like this, you already know what to do.

Happy Shooting,

Don J